Crafts: Laptop Cozy Update
 The hour is nigh upon us. The laptop cozy hovers on the brink of completedness. I debated waiting to post anything until it was actually 100% and truly finished, but where's the fun in that? Plus, I think I might need a bit of hand holding through the potential disaster I have created.
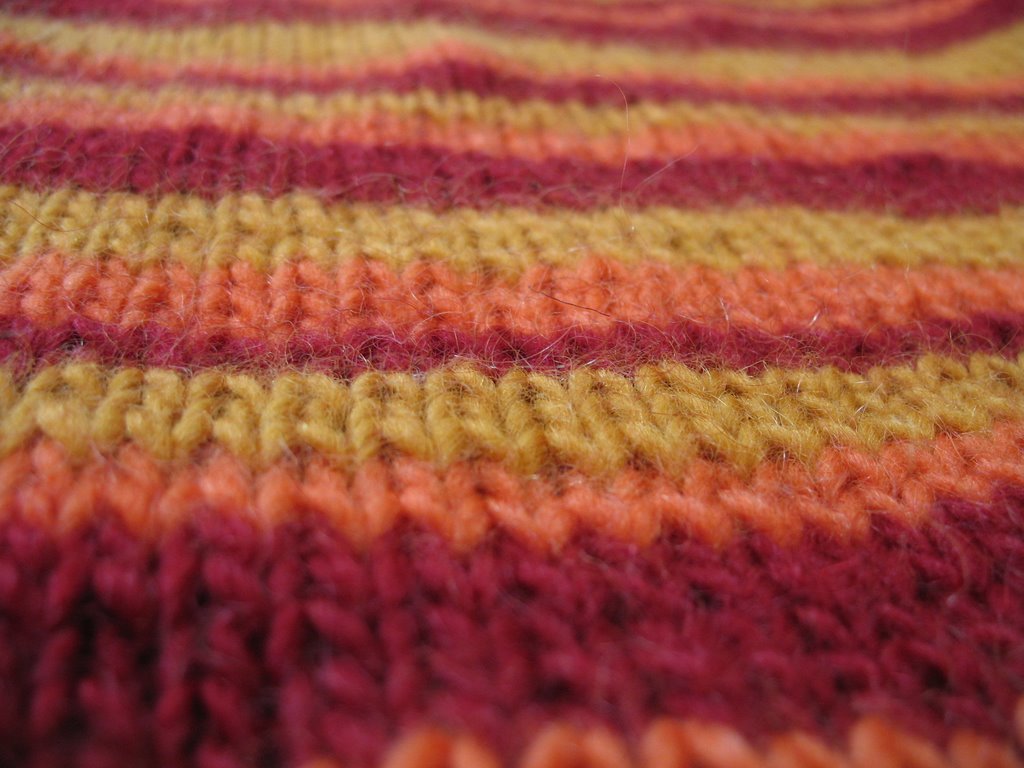
So, the laptop cozy is probably one of the simplest patterns in existence. It's so easy that I have absolutely no plagiarism hang-ups about sharing it with you (though the original pattern can be found in Alterknits by Leigh Radford): cast on 65 (80, 80) [for small (medium, large)] and work in stockinette stitch until the piece measures 44 (50.5, 57.5) inches from the beginning. Bind off and fold the piece in half. The folded edge becomes one side of the bag. Sew the bottom and the other side shut using your favorite fancy sewing method. Weave in loose ends. Felt. Use scissors to cut handles. Presto chango, laptop cozy!
I made the small size bag, which calls for two skeins each in three colors of Lamb's Pride Worsted if you want stripes, or six skeins in a single color. First off, I didn't use anywhere NEAR this much yarn. In fact, I only used three skeins and still had some left over. I was a bit disgruntled about this because, as you may recall from my earlier post, I actually had three skeins already, but since the pattern called for six, I made a public display of myself by picking up the extra skeins from my local yarn store while out on a run. Anywho, at least the experience still makes for a good "yarn" (oh! oh! Ouch!).
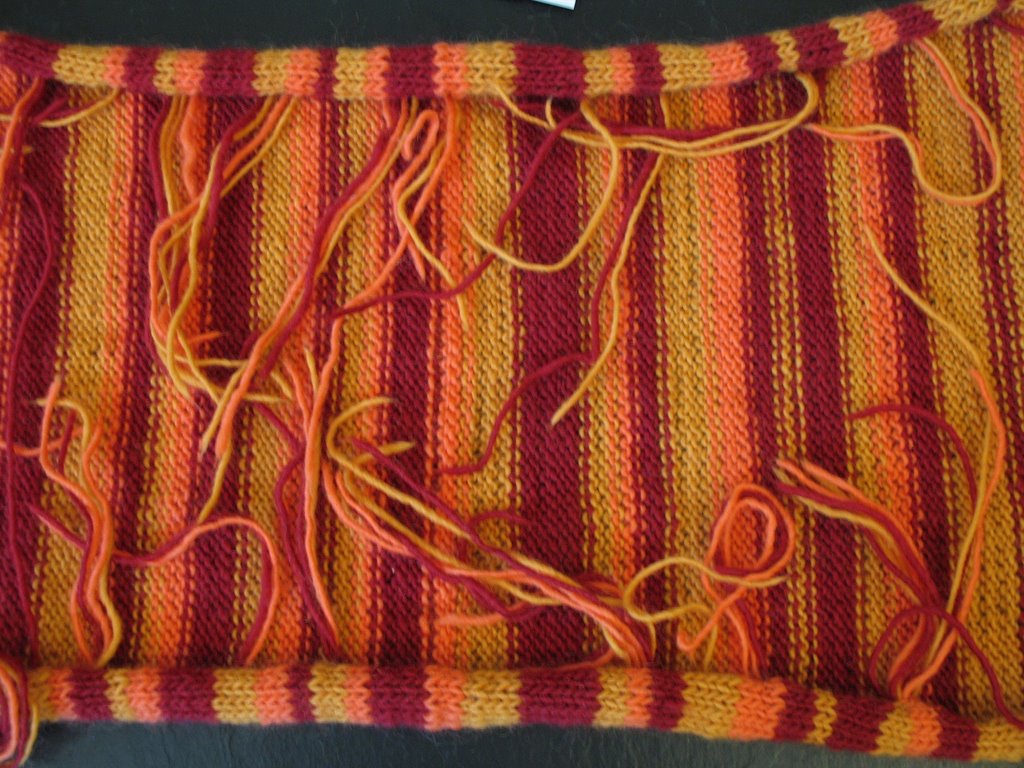 Look at all those ends! Bleck!
In the end, rather than actually weaving in all the ends, I decided to do a whip stitch along the bottom edge and a mattress stitch across the top (cuz it's prettier and this is the part that will be seen), and gather in the ends as I go. I'm not sure how well this will felt, but it seemed preferable to weaving them all in. Fingers crossed.
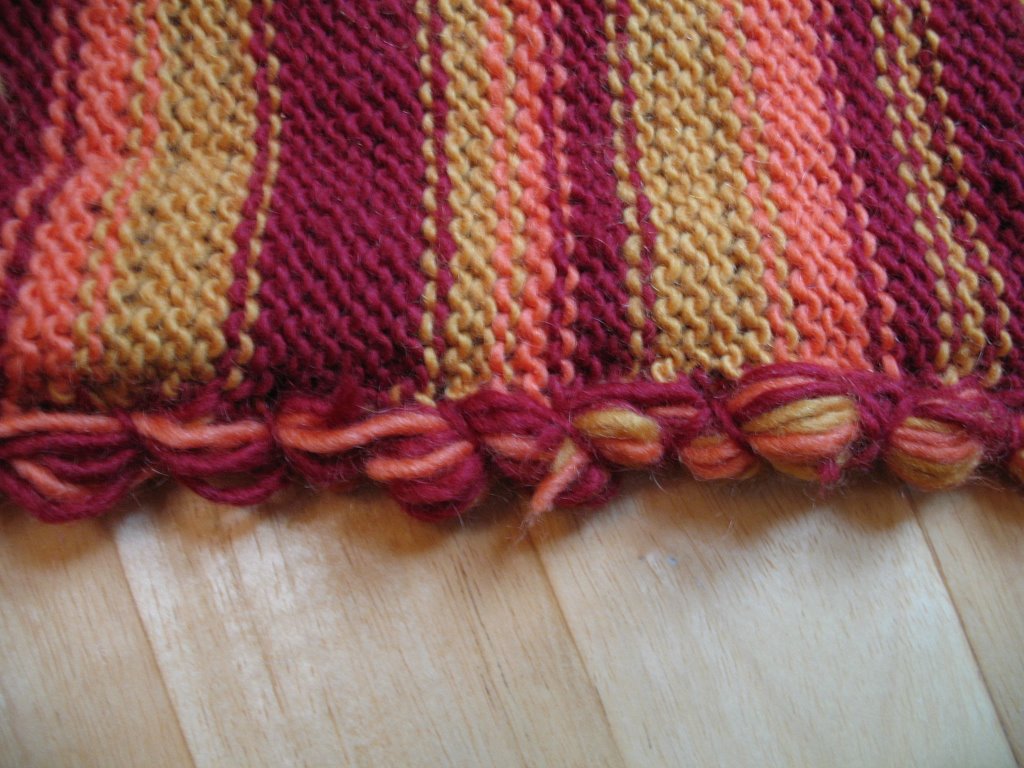 Bottom ends woven in with a whip stitch
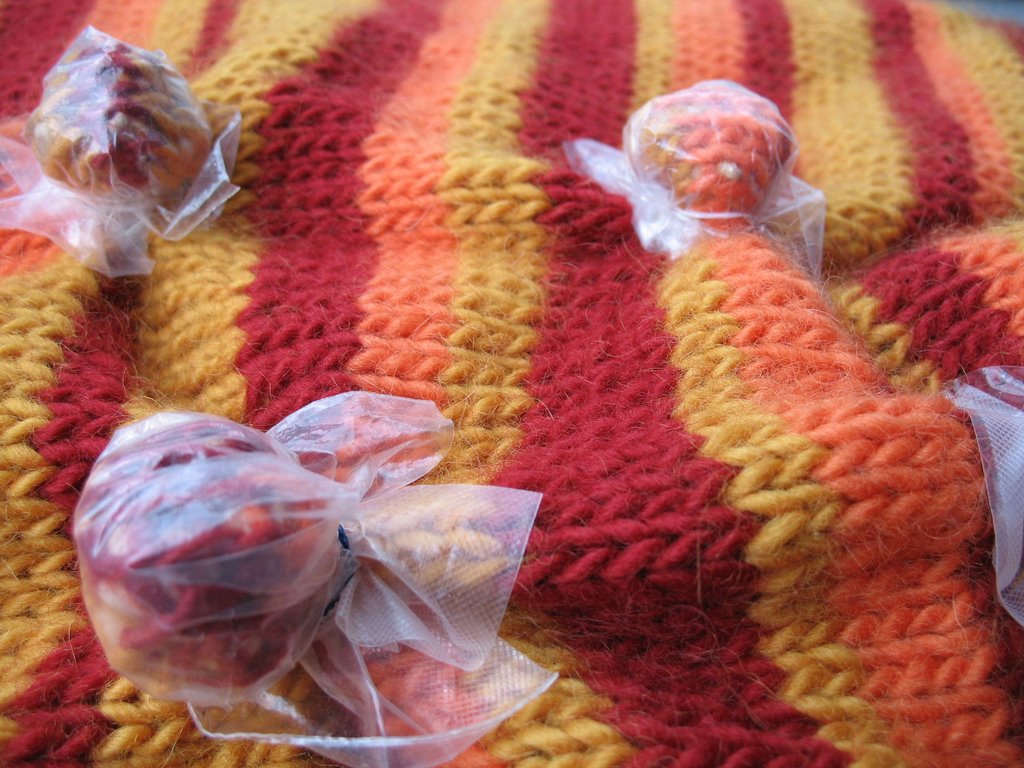
I've been eager to try this technique out for myself ever since Mom described it to me, but never had quite the right project. Until now! Yessiree, we're gonna get cre-AH-tive over here in Boston! Below is a picture of what the nubs look like so far. I gathered a bit of the fabric, popped in a few garbanzo beans, and secured a piece of plastic wrap over the whole nub with hair bands. I'm going to finish tying them up during the Patriots game tonight (cuz what's football for if not guaranteed, uninterrupted knitting time?), and then felt them tomorrow. Wheeee!

5 comments:
i'm very interested in a post-felting photo! soon?
You're KILLING me -- what happens next!?!?!
Patience, patience, young grasshoppers! For the past several days, I was the lucky winner of a seat on the jury for a criminal trial--the end result being that I've been completely brain dead at the end of the day. We finished up today (Law&Order-meets-CSI details upon request), so I'm hoping to do the felting tomorrow (Weds) or possibly Thursday. Believe me, I'm as eager as you are to see how it turns out!
I'm not officially ever going to knit again (because I just can't possibly have another craft to keep up with) but I love to see what knitters are doing and this looks like it's going to be totally cool! Bobbles are always so cheerful. I can't wait to see the results too.
P.S. I might be willing to part with a quart of pears for a scarf with bobbles...
Post a Comment